

Description
Private Mod Series Tutorial - The New London Mod
About
This is my on going tutorial series where I will edit v1.2 of the London Mod to make a private London Mod with all of the Met's new vehicles for beginners to follow along and learn the skills!
For this tutorial series I will be using version v1.2 of the London Mod and features from many other users and modifications.
This cannot be released as I will never get permission from everybody.
Check back for regular additions.
Please note that the date of October 2015 is when I began but gave up a previous series. Although this is the same topic it is a whole new series and one I regularly update now.
Latest update: 03/04/2016
General Instructions
Feel free to take this series two ways:
1. Do exactly as I do - great if you are not confident and cannot source files needed. This will make the exact same mod as I have.
2. Take my tutorials with a pinch of salt. Follow the tutorials, but with different files and edits - great if you want to make your own mod. This allows you to make a mod for anything.
Episodes
Episode 1:
Aim:
The aim of this tutorial is to make the mod folder and accquire some files needed for the mod.
What you need:
-You will need to install the London Mod v1.2 for this tutorial.
Step 1, open the editor.
Do this by copying your shortcut for Em4, but in Properties and then under target line, add a space and then "-editor"
(Using ALT+TAB allows you to switch between your desktop and Em4/Em4 editor easily).
Step 2, naming the mod.
At the top of the editor, go to modifications and make a new one, name it as you wish.
Step 3, accuiring files.
I will be using the London Mod as a base as I will be using many of the files from the mod and it gives me a working mod to begin with.
Go to your Em4 root directory, mine is as follows:
You should see a new folder with the name of your mod.
Open the London Mod folder and copy the entire contents into your mod folder.
Click replace items and you may also need to give administrator permission.
You should now have all the London Mod files in your mod foloder
Step 4, reconfiguring the name.
As you have just replaced the file that identifies the mod with the one from the London Mod, you will have to edit a file.
In your mod folder, there should be a file named "e4mod.info".
Open this with Notepad (as a text file) and in the speech marks change the text to your own .e.g:
<e4mod>
<mod name="The New London Mod" author="TWMCPE " comment="Private Mod Series" />
</e4mod>
Your mod will now be available in-game under the mod menu.
That is the end of episode 1.
Episode 2:
Aim:
The aim of this tutorial is to install the Cam Hack, enabling both better gameplay and viewing of your mod.
(You do not need to use the Cam Hack in the editor - just un-check Camera Limits)
What you need:
-You won't need anything extra for this tutorial.
It is important you do the following exactly as instructed, otherwise it will not let you save it.
Step 1, open Notepad as administrator.
Step 2, from within Notepad, open em4.cfg (located in Em4 root directory - not mod folder) as a text file.
Step 3, open the Find feature under Edit for the next steps.

Step 4, using the Find feature you just opened to help you, change the following lines to what is written below:
"e4_maxcampitch" value="80."
"e4_maxcamz" value="3500"
"e4_mincampitch" value="15"
"e4_mincamz" value="100."
You will now have far more control over the camera in-game and the ability to take some clear screenshots.
That is the end of episode 2.
Episode 3 Part 1:
Aim:
The aim of this tutorial is to edit the skin of the BMW Estate from the Kent Mod ready for adding it in game.
What you need:
-You will need the Kent Mod v0.6 for this tutorial.
-You will need an image editor for this tutorial (Paint.Net and Gimp are free but I reccomend buying an older copy of Photoshop).
NOTE:
I realise that there is a BMW Estate already in the London Mod, but I have chosen to use the one from the Kent Mod as it includes a fantastic model and it is the same version as the one the Met use now whereas the London Mod one is an older model.
Step 1, Navigate to the Kent Mod folder and then open "BMW330d.png" from the Kent Police folder under the Models folder.
Step 2, Now is your chance to edit the image, this is called skinning, or in this case re-skinning. Every part of the image is what a different part of the car will look like. In my case I am re-skinning the vehicle to look like the Met's livery for the BMW. Unfortunatley I cannot upload the image as it includes other peoples work. This is what I made it into using Photoshop:

I use photoshop as it has really useful selecting tools and is easy to use while still having a huge number of features.
And this is what I was attempting to recreate:
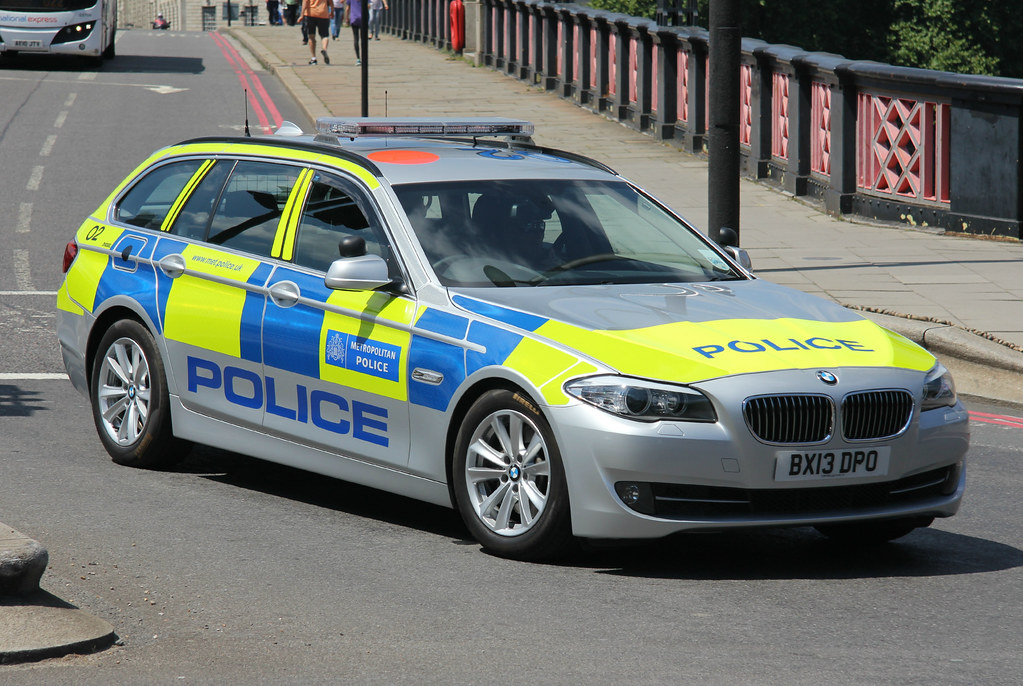
This is the Special Escort Group livery.
Step 3, save it to your desktop.
You now have a skin ready to add in-game.
Episode 3 Part 2:
Aim:
The aim of this tutorial is to gather all the files for this unit and put them in your mod.
What you need:
-You will need to have completed Part 1 of this Episode.
Step 1, copy the following files from the Kent Mod to the listed location in your mod:
The "Coronas" folder from (Kent Mod v0.6 - Textures) to (Your Mod - Textures)
The "BARONLY.png", "BMW330d.v3o", "Lightbar1.png", "Lightbar2.png", "Lightbar6.png", "Lighbar7.png", "Lightbar_flashing1.png" and "bmwf11.png" from (Kent Mod v0.6 - Models - Vehicles - Kent Police) to (Your Mod - Models - Vehicles - Metropolitan Police)
The "BMW330d.png" from your Desktop to (Your Mod - Models Vehicles - Metropolitan Police)
The "FX" folder from (Kent Mod v0.6 - Audio) to (Your Mod - Audio)
The "BMW330d_Traffic.e4p" from (Kent Mod v0.6 - Prototypes - Vehicles - Ken Police) to (Your Mod - Prototypes - Vehicles - Metropolitan police)
This leaves you ready for the next Part of the Episode when the car is setup in the editor and text files edited with the correct files already in place
Episode 3 Part 3:
Aim:
The aim of this tutorial is to do work in the editor and text files to setup the files you have placed.
What you need:
-You will need to have completed Part 1&2 of this Episode.
Step 1, open "Sirens.SCRIPT" from (Your Mod - Scripts - Game - Command).
Step 2, in the list of 'const chars', copy the bottom line and paste it immediatley below, change the number after "CAR_" to 43 - or one more than the line above - and then change then change the "mod:" section to state the location of the BMW prototype. This is what the line should look like:
const char CAR_43[] = "mod:Prototypes/Vehicles/Metropolitan Police/BMW330d_Traffic.e4p";
Step 3, in the same file, find the section of 'if (StrCompares' copy the bottom section and paste it three lines below. Again, change the number after "CAR_" by 1 and then after "soundID" it should list the Kent Mod police siren. loaction. This is what the line should look like:
if(StrCompare(v.GetPrototypeFileName(), CAR_43) == 0)
soundID = Audio::PlaySample3D("mod:Audio/FX/Sirens/police02.wav", CarPos, true);
Step 4, open your mod in the editor and press 'F1'.
Step 5, click vehicles and then Metropolitan Police and then press New.
Step 6, select the "BMW330d_Traffic.e4p" prototype.
Step 7, in the new Prototype window that will have appeared for the BMW, next to where it says Modelfile, click 'Browse' and choose BMW330d.v30.
Now you should find that you can see the working car with lights and sirens in the editor.


Episode 3 Part 4 coming soon
Recommended Comments
There are no comments to display.